XSLT 2.0 and XPath 2.0 Programmer's Reference, 4th Edition (8 page)
Read XSLT 2.0 and XPath 2.0 Programmer's Reference, 4th Edition Online
Authors: Michael Kay

AltovaXML -in hello.xml -xslt2 hello.xsl -out hello.html
Using XMLSpy
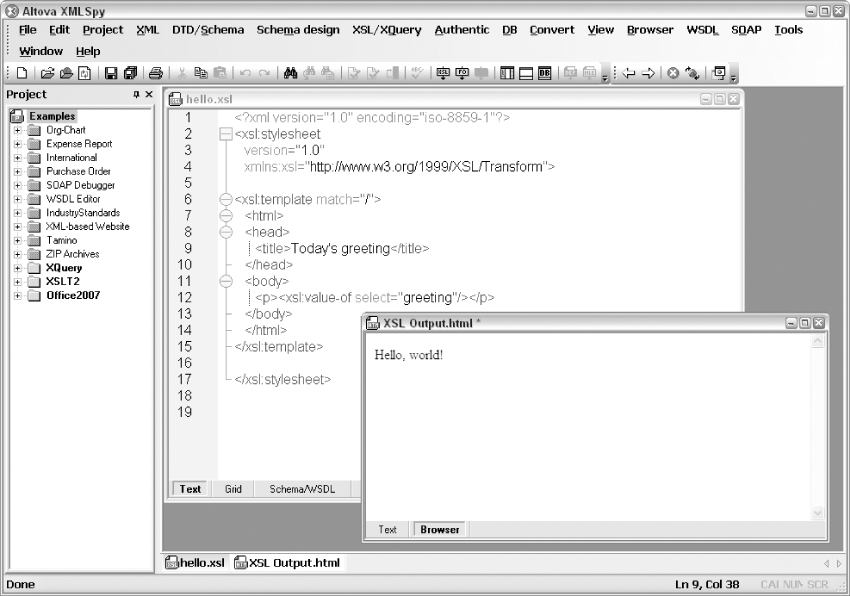
If you have installed XMLSpy, use File ⇒ Open to open the stylesheet file
hello.xsl
, then F10 (or the XSL Transformation icon) to run a transformation. In the next dialog box, select the source file
hello.xml
, and click OK. The output is displayed as shown in
Figure 1-5
. You can switch between the
Text
and
Browser
tabs at the bottom of the output window to see either the generated HTML or the result as it will appear in the browser.
Using Stylus Studio
Stylus Studio uses its own built-in XSLT processor by default. This only supports XSLT 1.0, but that's fine for this example.
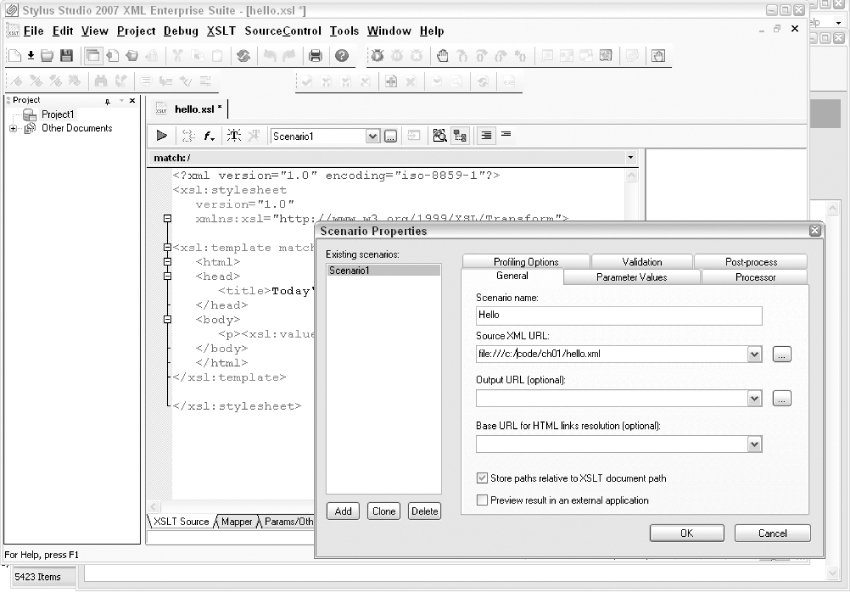
First open the stylesheet using File ⇒ Open. The next step is to create a scenario (that is a transformation task). Click the “…” button next to the “Create Scenario” drop-down box. In the resulting dialog box (shown in
Figure 1-6
), define a name for the scenario (so that next time you run the task you can simply select it from the drop-down) and browse to the source XML file in the “Source XML URL” box. Then click the green triangle icon (with hover text “Preview Result”) to run the transformation. The output appears in a new window, and you can again switch between a source HTML view and a browser view, or an Explorer-style tree view of the result tree if you prefer.
If you want to use XSLT 2.0 with Stylus Studio, choose the Processor tab in the Create Scenario dialog, and choose the most recent version of Saxon from the list of processors offered (one of the nice features of Stylus is that you can use it to test that your code is portable across a range of different processors). You can then click the Settings … button to select from a range of Saxon-specific options (for example, you can choose whether or not to use schema-aware processing.) These correspond to options that are available on the Saxon command line.
How It Works
If you've succeeded in running this example, or even if you just want to get on with reading the book, you'll want to know how it works. Let's dissect it.
This is just the standard XML heading. The interesting point is that an XSLT stylesheet is itself an XML document. I'll have more to say about this later in the chapter. I've used
iso-8859-1
character encoding (which is the official name for the character set that Microsoft sometimes calls “ANSI”) because in Western Europe and North America it's the character set that most text editors support. If you've got a text editor that supports UTF-8 or some other character encoding, feel free to use that instead.
version=“1.0”
xmlns:xsl=“http://www.w3.org/1999/XSL/Transform”>
This is the standard XSLT 1.0 heading. In XML terms it's an element start tag, and it identifies the document as a stylesheet. The
xmlns:xsl
attribute is an XML namespace declaration, which indicates that the prefix
xsl
is going to be used for elements defined in the W3C XSLT specification. XSLT makes extensive use of XML namespaces, and all the element names defined in the standard are prefixed with this namespace to avoid any clash with names used in your source document. The
version
attribute indicates that the stylesheet is designed to work with an XSLT 1.0 processor.
Let's move on.
An match = “/”
 indicates that this particular rule is triggered right at the start of processing the source document. Here
 /
/ is a pattern that identifies the
document node
of the document: an XML document has a hierarchic structure, and in the same way as Unix uses the special filename /
/ to indicate the root of a hierarchic file store, XPath uses
 /
/ to represent the root of the XML content hierarchy.


