Sew What! Bags: 18 Pattern-Free Projects You Can Customize to Fit Your Needs (36 page)
Read Sew What! Bags: 18 Pattern-Free Projects You Can Customize to Fit Your Needs Online
Authors: Lexie Barnes

The batting is a nice touch because it gives your roll more structure and offers your tools extra protection. This is a must if you have fancy or delicate needles!
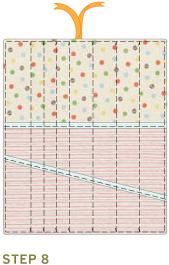
8.
STITCH THE COMPARTMENTS
. Tuck in and pin the seam allowances at the 5" opening, and then topstitch around all four sides. If you drew customized divider lines in step 1, stitch along those and backtack, especially at the top of pocket edges. Otherwise, use dressmaker’s chalk or disappearing marker to draw lines where you want the compartments to be, and stitch, backtacking at the pocket edges. The widths of the compartments can vary (our roll has slots from 1¼" to 2¾" wide). Be sure to move the ribbon out of the way when you stitch (do not stitch it down).

ON A ROLL
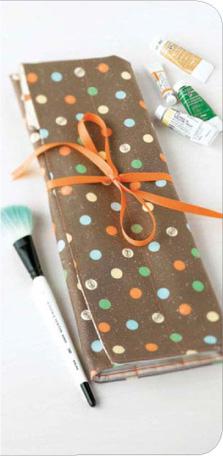
To use the Artist’s Roll, start by folding over the top by about 4". This will keep the items in the roll from falling out. Next, fold over about a third of the roll on the left, fold again on the right, and then tie with the ribbon.


SKILL LEVEL
pro
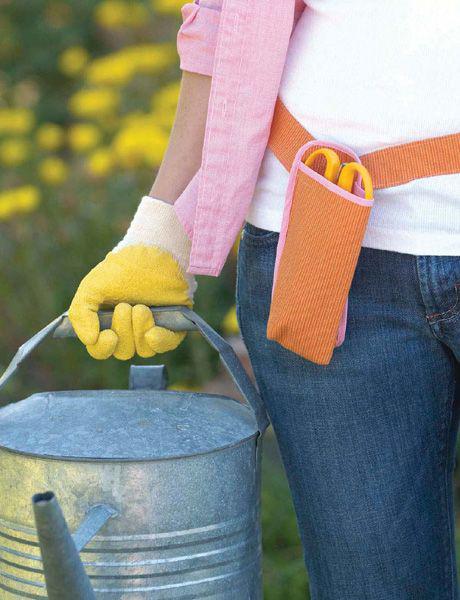
This holster is really a one-pocket tool belt. Modify it by changing the size of the pocket to hold another gadget or tool — or by adding additional pockets. For scissors, pruning shears, or anything sharp or pointy, you’ll want a heavy-duty fabric so the tool won’t poke through. For a waterproof version, make the holster with vinyl, laminated cotton, or oilcloth.
OUR FINISHED SIZE:
3½" × 7", two 31" belt ties
WHAT YOU’LL NEED
½ yard of fabric for the holster and waist belt
1 yard of ¼" double-fold bias tape
Sewing supplies (
see page
18
)
WHAT YOU’LL DO
Decide your size
Cut your fabric
Make the pocket
Make the holster back
Make and attach the belt ties
Attach the pocket
