The Contemporary Buttercream Bible (4 page)
Read The Contemporary Buttercream Bible Online
Authors: Christina Ong Valeri Valeriano

Bags and nozzles terminology
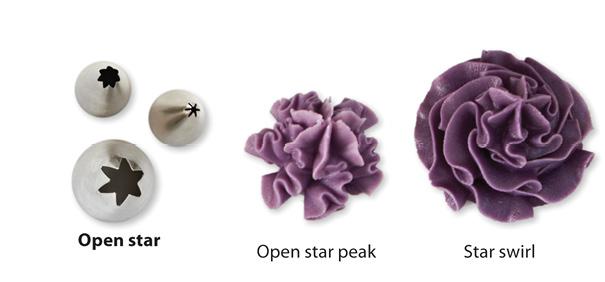
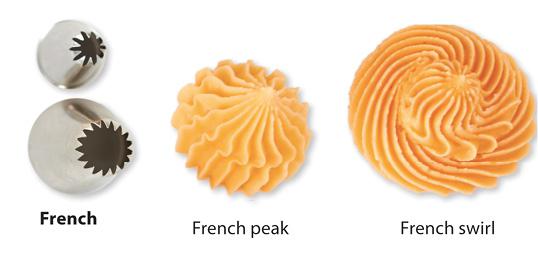
Piping nozzles are also known as ‘tips’ in
various parts of the world, but for brevity we
35
will just refer to them as nozzles from this point
forwards in this book. In the same way, piping
bags are sometimes called ‘pastry bags’, but in
order not to be too ‘word-y’ we’ll just call them
piping bags from here on in.
36
Colouring Buttercream
The colours you use will bring your cake to life.
Choosing the right colour combination is essential
to make the design more natural, or more striking.
In this section we will tell you how to blend these
colours without sacrificing the quality of your
buttercream.
To tint your buttercream you can use food colouring
pastes or gels, and the amount you add will
determine the vibrancy of your colour. Pastes and
gels blend well with the buttercream and the
colours do not bleed. We do not recommend using
food colouring powders and liquids, as both can
affect the consistency of your frosting and will
create a high tendency for the colours to bleed.
Liquid colours will make your frosting soft, and if
you use powder, you will find that after about 24
hours some of the tiny particles that did not totally dissolve on mixing will create blotches of colour. In addition, the powders sometimes have either a salty
or bitter taste.
37
To regulate the amount of colouring you add, we
recommend
that
you
use
a
cocktail
stick
(toothpick), dipping it into your colour then adding
it to the buttercream in tiny amounts at a time until you get your desired shade. Do not re-use the
cocktail stick after it has touched the buttercream
or it will contaminate the colouring and could make
it go off.
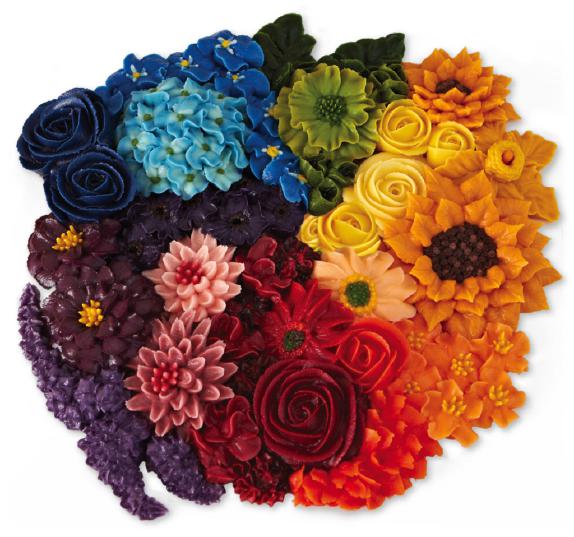
This colour wheel, basically a rainbow in a circle, is a great way to see how colours relate to one
38
another. Adjacent colours, for example blue and
green, will always have a pleasing harmony, but
colours that are directly opposite one another on
the wheel, for example green and red, will also
create a lovely vibrant combination. Experiment
until you find colours that you love.
A rule when adding colour
Remember our ‘golden rule’ when making your
buttercream and
do not over-beat.
Bear in
mind that when you mix in the food colouring,
that counts as additional beating. To minimize
this, smear the food colouring into the
buttercream with a spatula or the back of a
spoon first until you see that there are no more
lumps or blobs of gel or paste then
fold-smear-fold-smear-fold your buttercream
until you get an even colour.
MIXING COLOURS
To tint your buttercream to make pastel and light
colours is easy. Bright and deep colours like navy
blue, black and red are the hardest colours to
achieve. But bear in mind as well that buttercream
39
tends to become a shade darker after while. Let the
information below help you when tinting your
frosting.
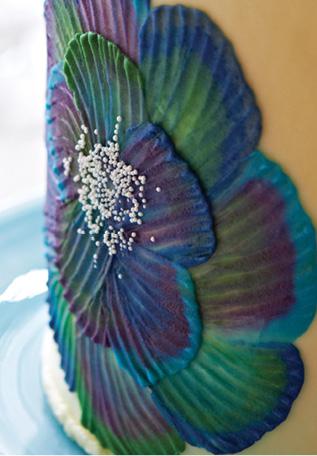
Navy blue
To get a rich navy blue colour, we usually combine
few shades of blue like Sugarflair Baby Blue, and
Navy Blue (but not Sugarflair Ice Blue, which is too
light and bright) and a small amount of brown or
black food colouring paste or gel.
40
Black
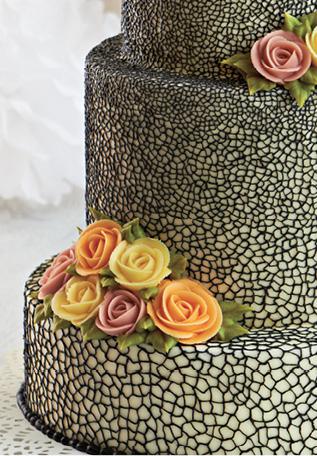
To tint your buttercream to a true black, we suggest
adding sifted cocoa powder (unsweetened cocoa) to
your buttercream until it becomes dark brown then
add black food colouring paste or gel. Cocoa is a dry ingredient so it will make your buttercream a little
stiff so add few drops of water to adjust its
consistency. The amount of cocoa you use will
depend on how deep a shade you wish to make.
Red
To make your buttercream bright red, combine
even amounts of any dark shade of pink (Sugarflair
41
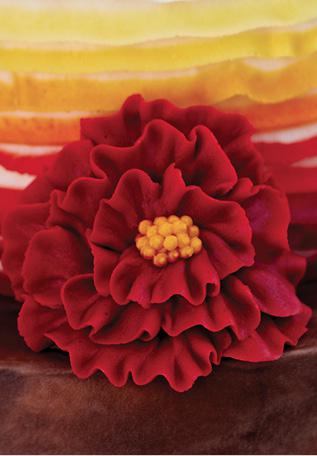
Claret or Dusky Pink), plus orange (Sugarflair
Orange or Tangerine) and any shade of red
(Sugarflair Ruby or Poppy Red). To make a really
deep red, add a hint of black or brown food
colouring paste or gel.
Tip
If you ever need to cover and decorate a big
cake and you want to be very particular about
the colour, it is better to prepare too much
42
buttercream than too little as it will be hard to
mix the same colour again.
43
Filling the Piping Bag
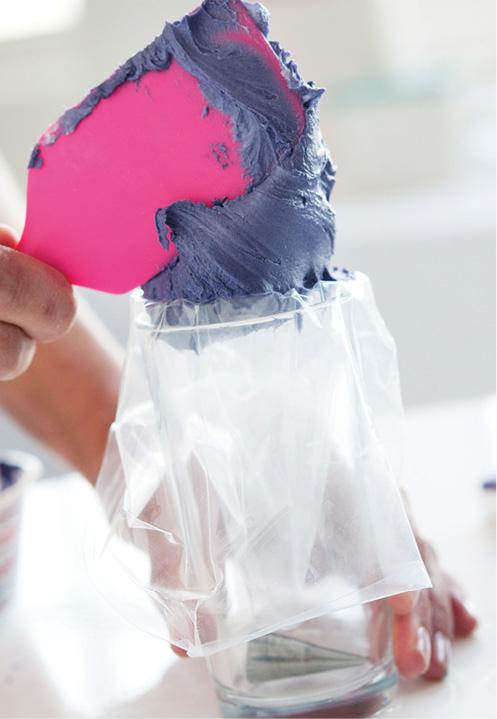
We find that the easiest, least messy and most
effective way of filling a piping bag is by using a tall glass or vase to hold the bag and then using a spoon
or a spatula to scoop the buttercream in. Try it and
we think you’ll agree.
44
If you are using a nozzle, remember to fit this in the tip of the bag before filling it with buttercream by
cutting a hole for the nozzle to poke through, just
large enough for about half of its length to protude
out of the bag. Start with a small hole and make it
bigger if necessary, because if you cut too large a
45
hole straight off, your bag will be ruined. Do not be tempted to overfill the bag, as you will end up in a
sticky mess! When the bag is sufficiently full twist
the top firmly to secure.
ATTACHING A COUPLER
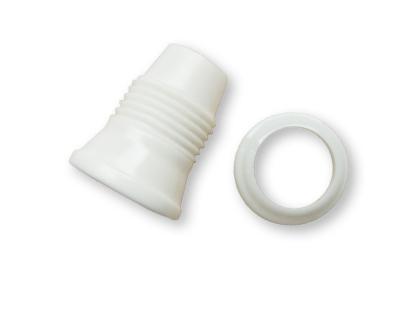
Sometimes we use a tool called a coupler (see
Equipment).
This
two-part
device
lets
you
interchange several nozzles without changing the
bag. The two parts of the coupler are called the base (the bigger part) and the ring. You basically cut the tip off your piping bag to leave just enough of an
opening, put the base inside the bag (narrow end
first), put the nozzle of your choice over the portion of the base that sticks out of the bag then screw the ring on to lock the nozzle on. A coupler also secures your nozzle from popping out if the piping bag tears
(which can sometimes happen if you use
low-quality bags or squeeze too strongly!).
46
