Sew What! Bags: 18 Pattern-Free Projects You Can Customize to Fit Your Needs (14 page)
Read Sew What! Bags: 18 Pattern-Free Projects You Can Customize to Fit Your Needs Online
Authors: Lexie Barnes

1.
DECIDE YOUR SIZE
. For this project, simply take a pack of travel tissues and measure it. Add 1" to the length and width for seam allowances. To allow for the depth of the packet, add another ½" to both length and width for ease (
see page
15
); otherwise the tissues will be a tight fit.
CUT YOUR FABRIC

2.
CUT YOUR FABRIC
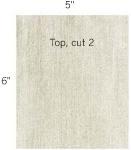
. On the wrong side of the fabric, measure, mark, and cut two pieces: one for the bottom exterior and one for the bottom lining. For the folded tops, add another inch to the width of your bottom measurement. Cut two pieces of fabric at that size.

3.
PIN THE PIECES
. Fold each of the top pieces in half lengthwise, wrong sides together. Press them, pin them, and set them aside. Pin together the two bottom pieces, wrong sides together.

4.
ASSEMBLE
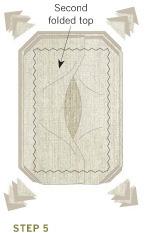
. Lay the pinned bottom pieces with the exterior on top and the lining on the bottom. Pin the two folded tops over the bottoms, lining up all outer raw edges. (The folded pieces will overlap in the middle.) If you are using an embellished top piece (like the one in the photo), lay it down first, embellishment side down.

5.
STITCH
. Run a narrow zigzag stitch around the raw edges (this will give the seam a bit of stretch). Trim the excess seam allowance, clip the corners (
see page 41
), and turn the pouch right side out. And you’re done!

EMBELLISHMENT IDEA
If you want to add a decorative strip, like the one on our pouch, cut a strip of fabric 6" long and about 1" wide. Turn under and press ¼" on the long sides of the strip and edgestitch the strip to one of the folded top pieces before assembling the pouch. Or, use a ribbon that has finished edges, and just edgestitch it on without turning the sides under.


SKILL LEVEL
newbie
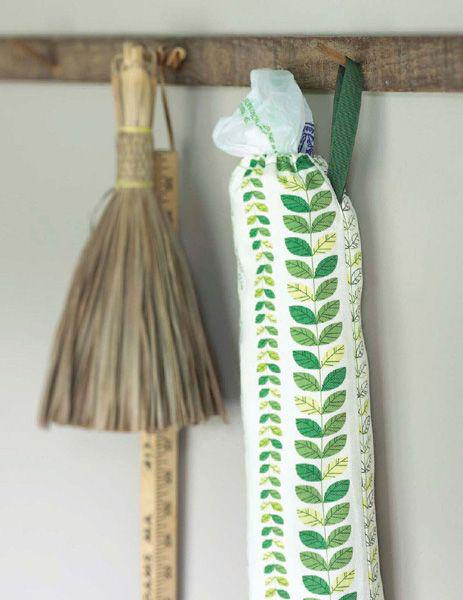
Don’t let recycled grocery bags clutter up your home. Stow them in this sweet and tidy tube instead. Tuck new bags in the top, and pull stored bags out of the bottom. Customize it to fit where you plan to hang it. Do you have a big hook with lots of room below it? Or do you need a shorter tube to tuck into a cabinet? This simple project is practical, makes a cute housewarming gift, and lets you try out using elastic!
OUR FINISHED SIZE:
5" × 26"
WHAT YOU’LL NEED
½ yard of fabric
8" of ribbon or twill tape
½ yard of ¼" elastic
Sewing supplies (
see page
18
)
WHAT YOU’LL DO
Decide your size
Cut the fabric, ribbon, and elastic
Make the casing
Make and attach the loop
Stitch the tube
